How I Make Custom Face Gems for Face Painting

If you’ve ever had someone sit in your chair and immediately ask, “Can I get gems?” then you already know how much those sparkly gem clusters can elevate a design.
They’re fast, eye-catching, and honestly one of the easiest ways to add that “WOW” factor with minimal time. Over the years, I’ve tested different ways of making and storing face gems for events.
Below I’m sharing the supplies and the tools I use, and how I keep everything organized for face painting events.
Why I Make My Own Face Gems
Making my own face gems gives me complete control over the final look. I can customize color palettes to match themes, holidays, or branding, and I’m not limited to whatever designs happen to come in a pre-made pack. It also allows me to create designs that work for different face shapes and age ranges, which is especially helpful when I’m painting a wide variety of clients at one event.
Once you have a system in place, making face gems is also very easy to batch. I can sit down, create a full restock, and know I’m prepared for multiple events without scrambling the night before.
The Supplies I Use to Make Face Gems
In this article I’m sharing my favorite supplies and the tools I use when assembling face gems. Some of these are affiliate links, some aren’t, I always believe in sharing what I actually use, regardless.
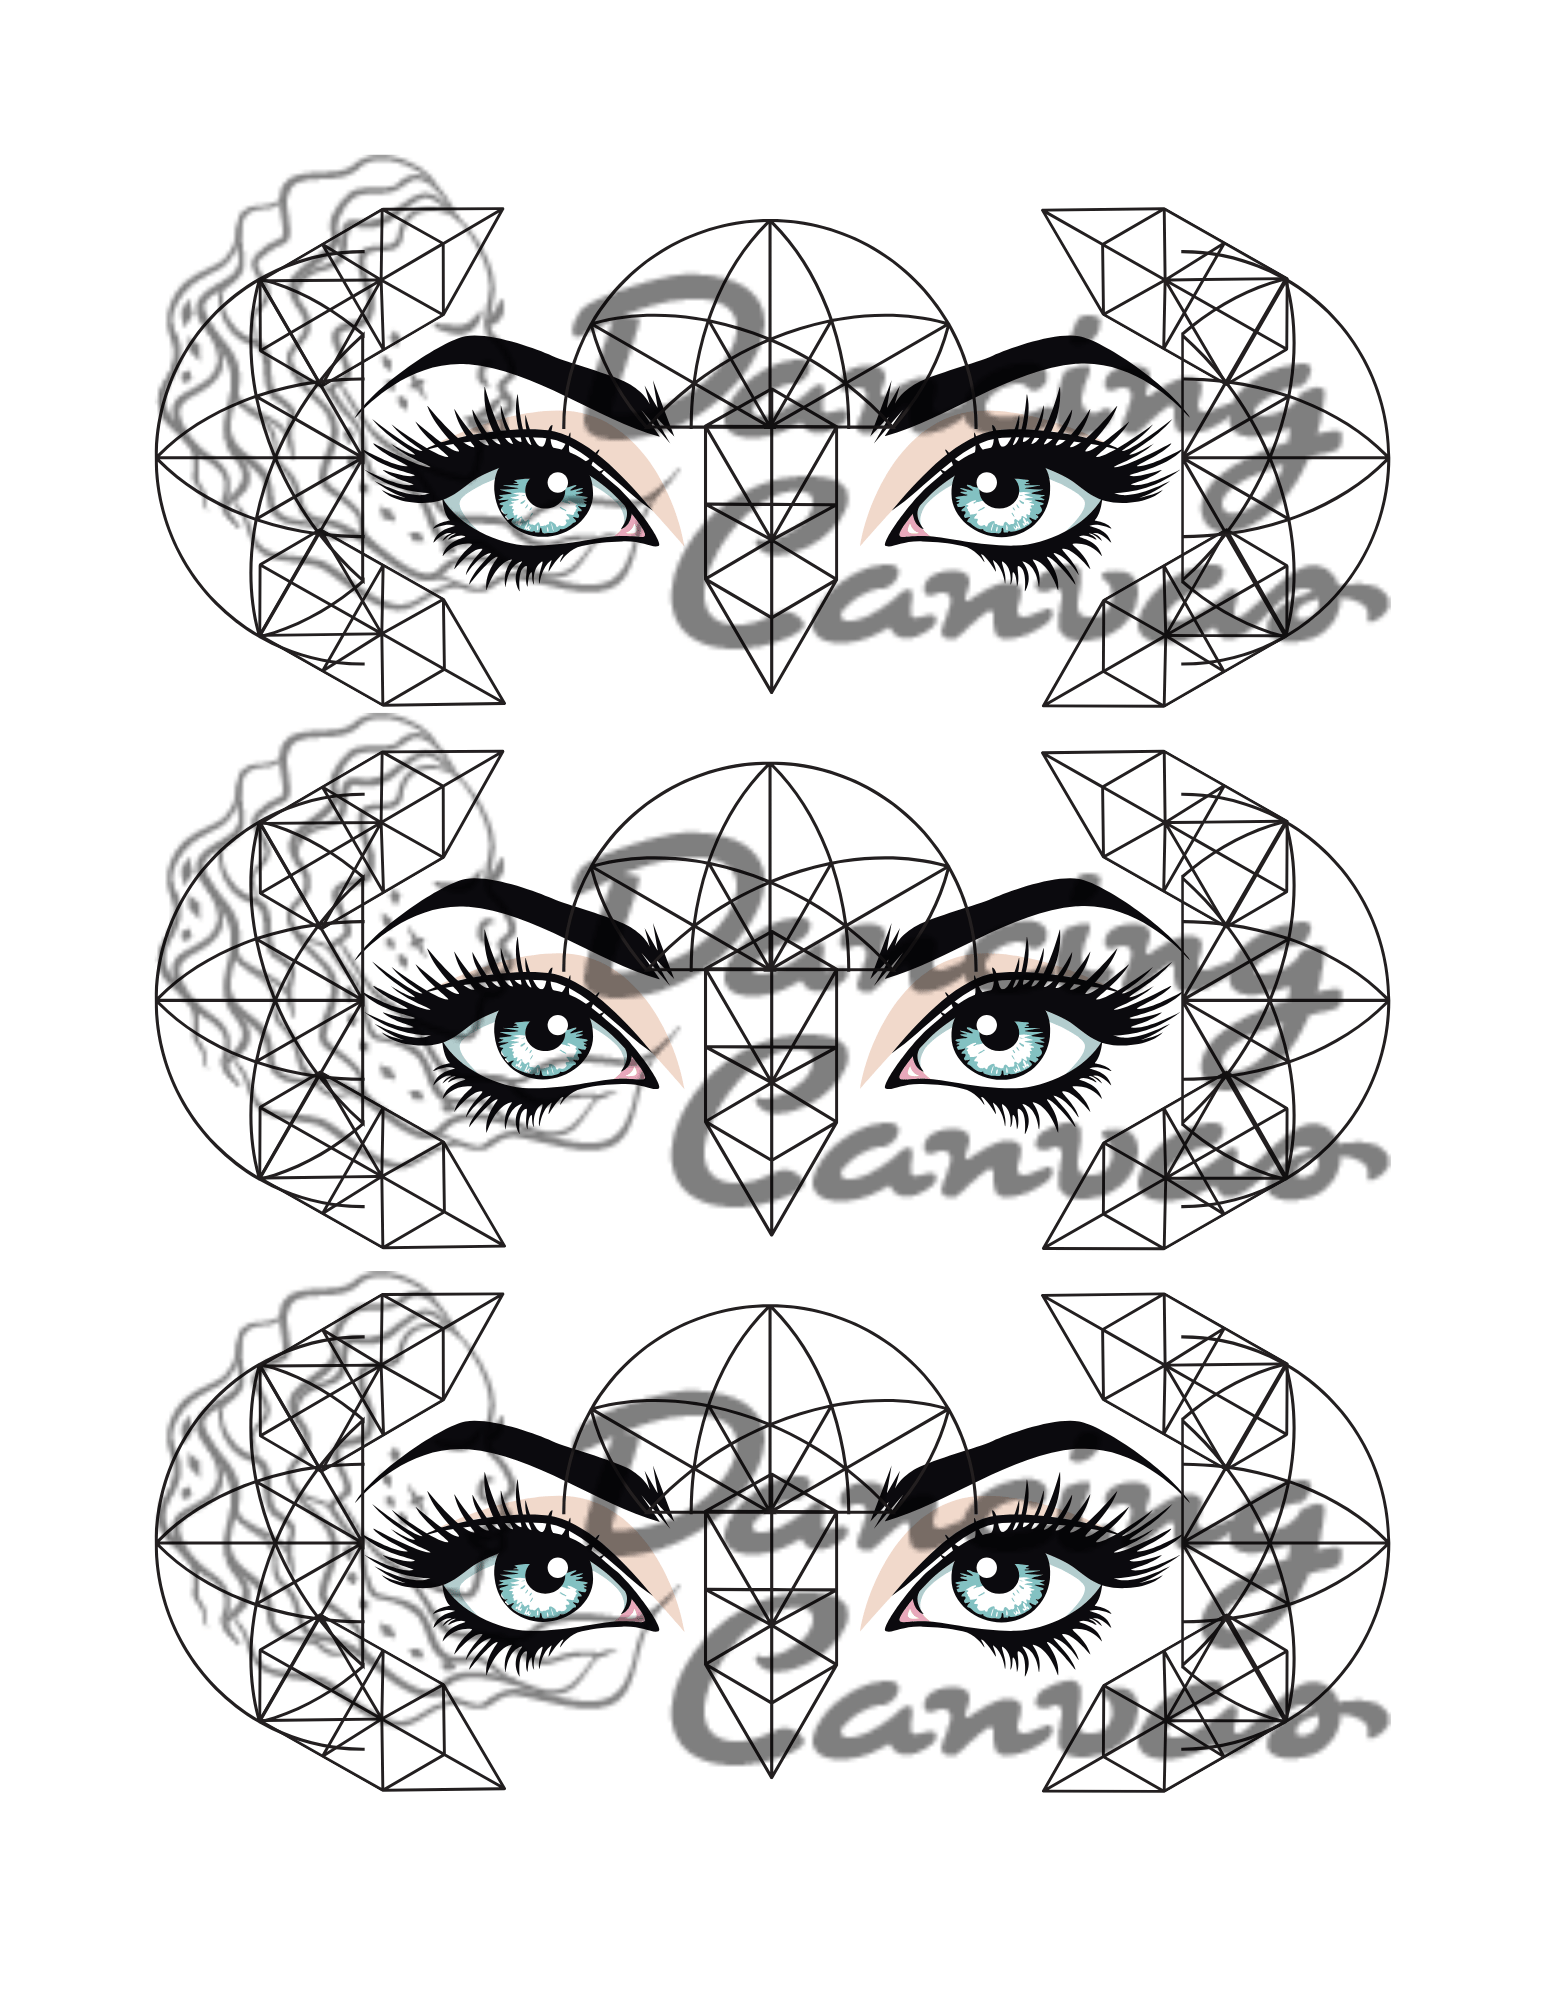
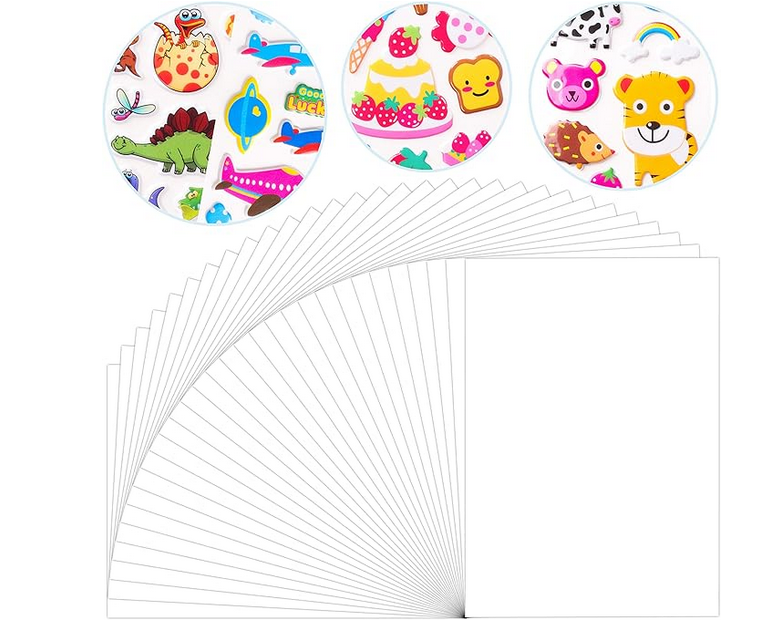
1. Face Template Printable
To plan my clusters and keep them symmetrical I use a template I designed with guidelines around the eyes. This allows me to test layouts before committing gems to the fashion tape and helps ensure designs are balanced and wearable..
If you make face gems regularly, having a template like this is incredibly helpful for consistency and efficiency. I printed mine on cardstock paper and laminated it so it would be more durable.
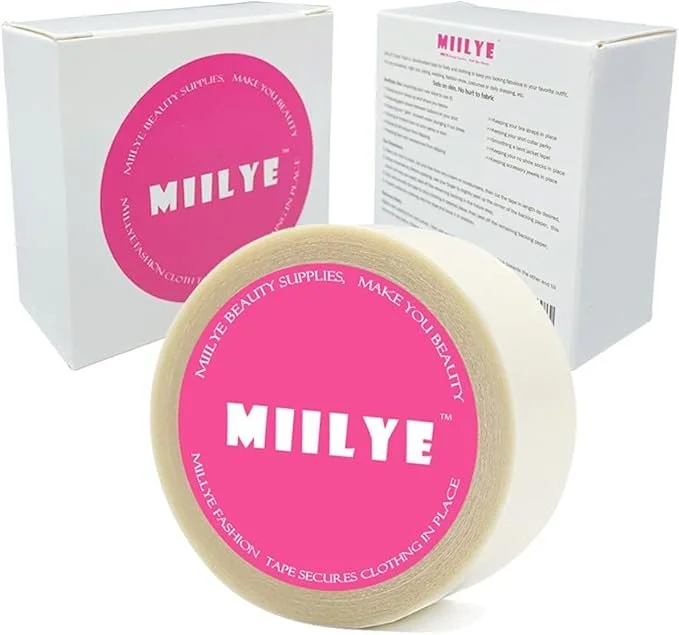
1. Fashion Tape (My Go-To Adhesive)
When assembling face gems, I use fashion tape as backing. It holds gems securely in place while still allowing them to peel easily when it’s time to apply them to the face or take them off. The tape is skin safe but also has a good hold. I like this particular brand of fashion tape because it’s 1 inch wide so there’s plenty of space to make my gem clusters. Most other fashion tape brands are only 1/2 inch which is too small.
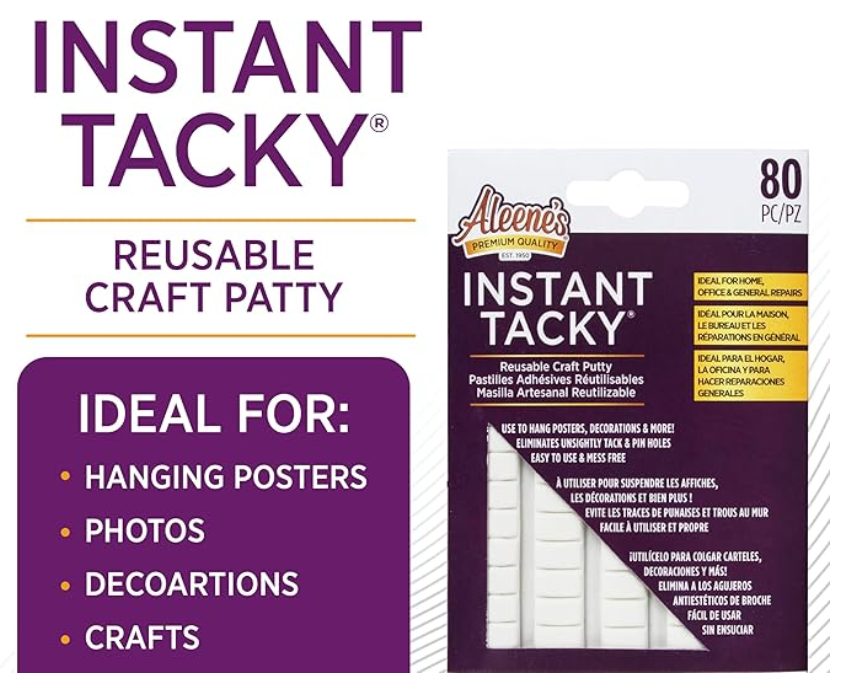
2. Aleene’s Instant Tacky
Picking up and placing gems on the fashion tape can be tricky but with Aleene’s Instant Tacky it’s a breeze. This is one of those tools you don’t realize you need until you try to work without it. It makes placing rhinestones faster, more precise, and far less frustrating — especially when working with small or oddly shaped gems.
I use it with a wooden chopstick for most of my placement work because it allows me to keep designs symmetrical and clean without chasing gems across my workspace.
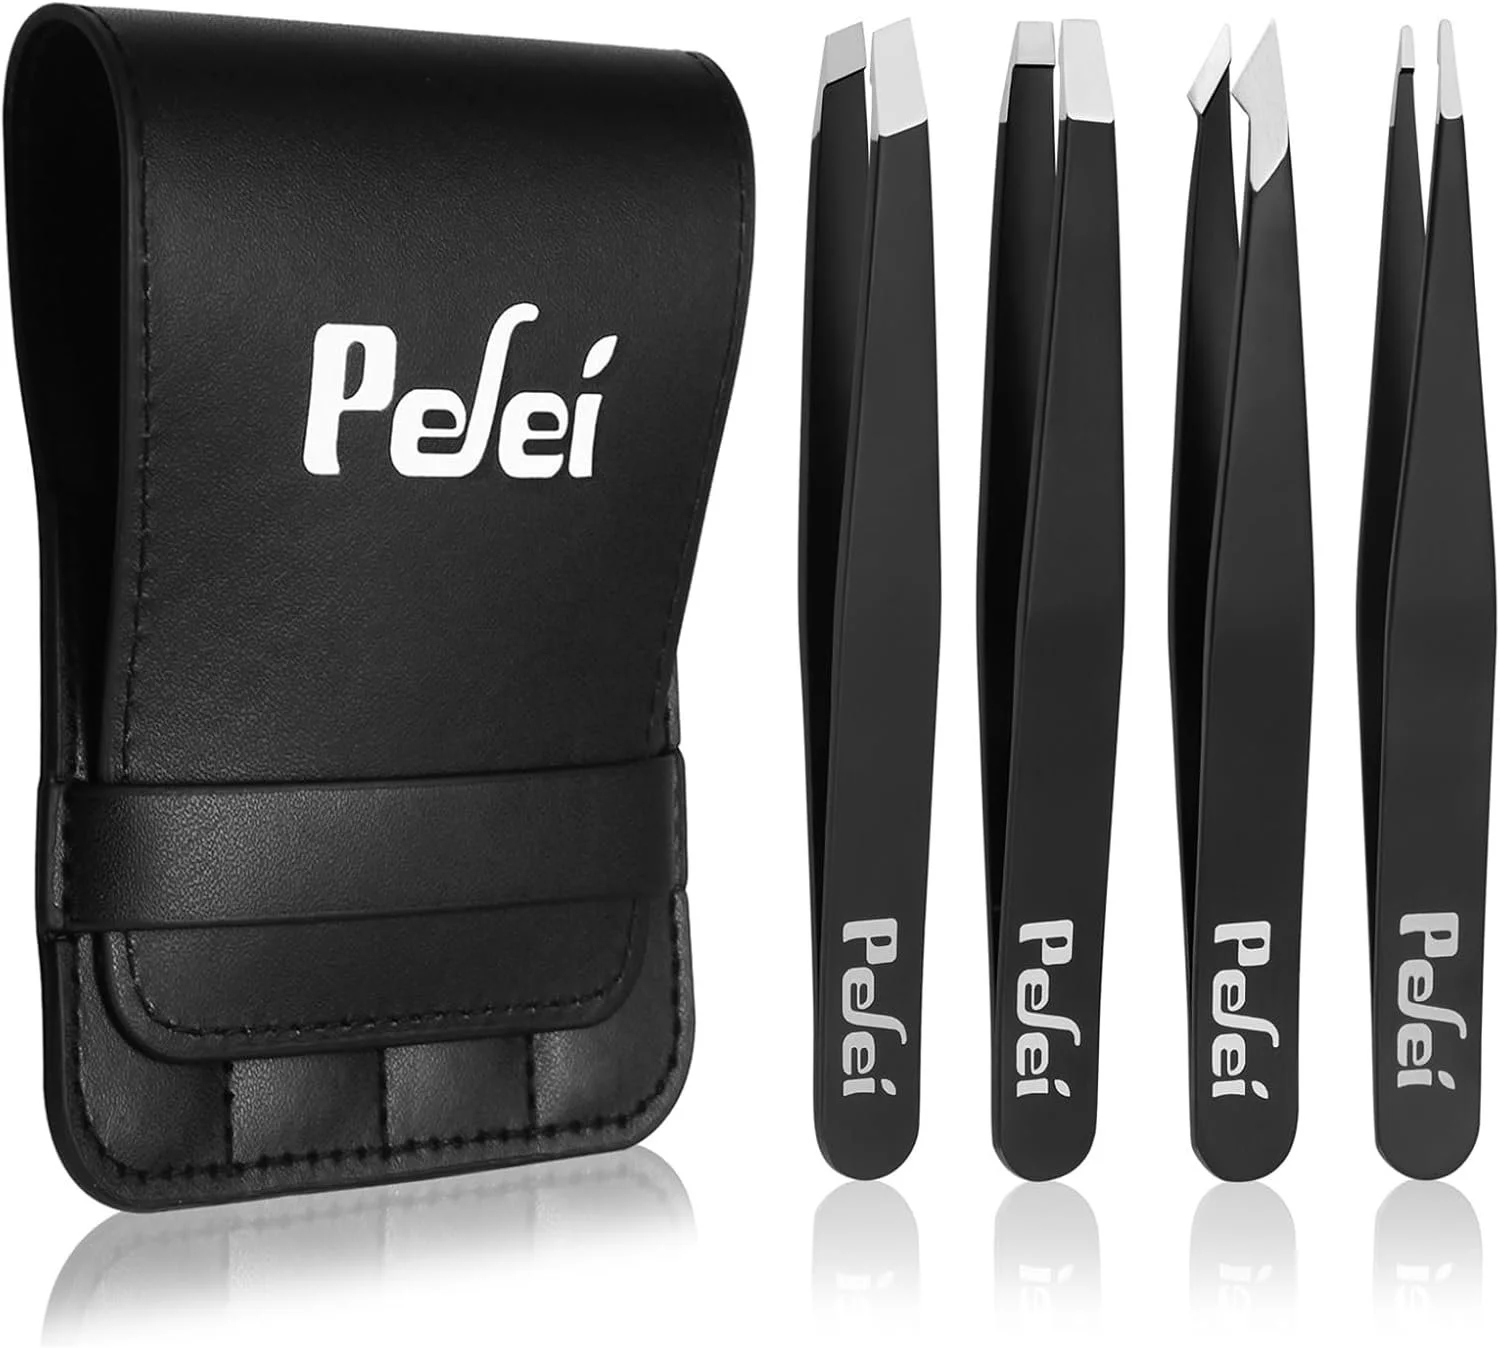
3. Tweezers
While I rely heavily on my pick-up stick, I still keep a set of tweezers on hand for detail work. Tweezers are especially useful when adjusting placement, working with very small gems, or fixing spacing in tighter designs. Using both tools together gives me more control and helps prevent mistakes that can slow me down.
I like this set because it has a few different types to choose from and the case to keep everything together so I don’t lose them.
4. Sticker Backing Sheets
While I love the fashion tape as my backing for all of my face gem designs, it can be tricky to remove on the job. I usually need the pointy tweezers from that set above to get it to come off. Because of this I remove the original backing off all my gem clusters and transfer them to these sticker sheets. This keeps the gems easy to peel when applying them at events.
They also help with storage because I can cut sheets to size and store as many or as few gems as I want on each sheet. This makes it easier to group gems into a set for a special theme or keep them individual depending on your storage containers
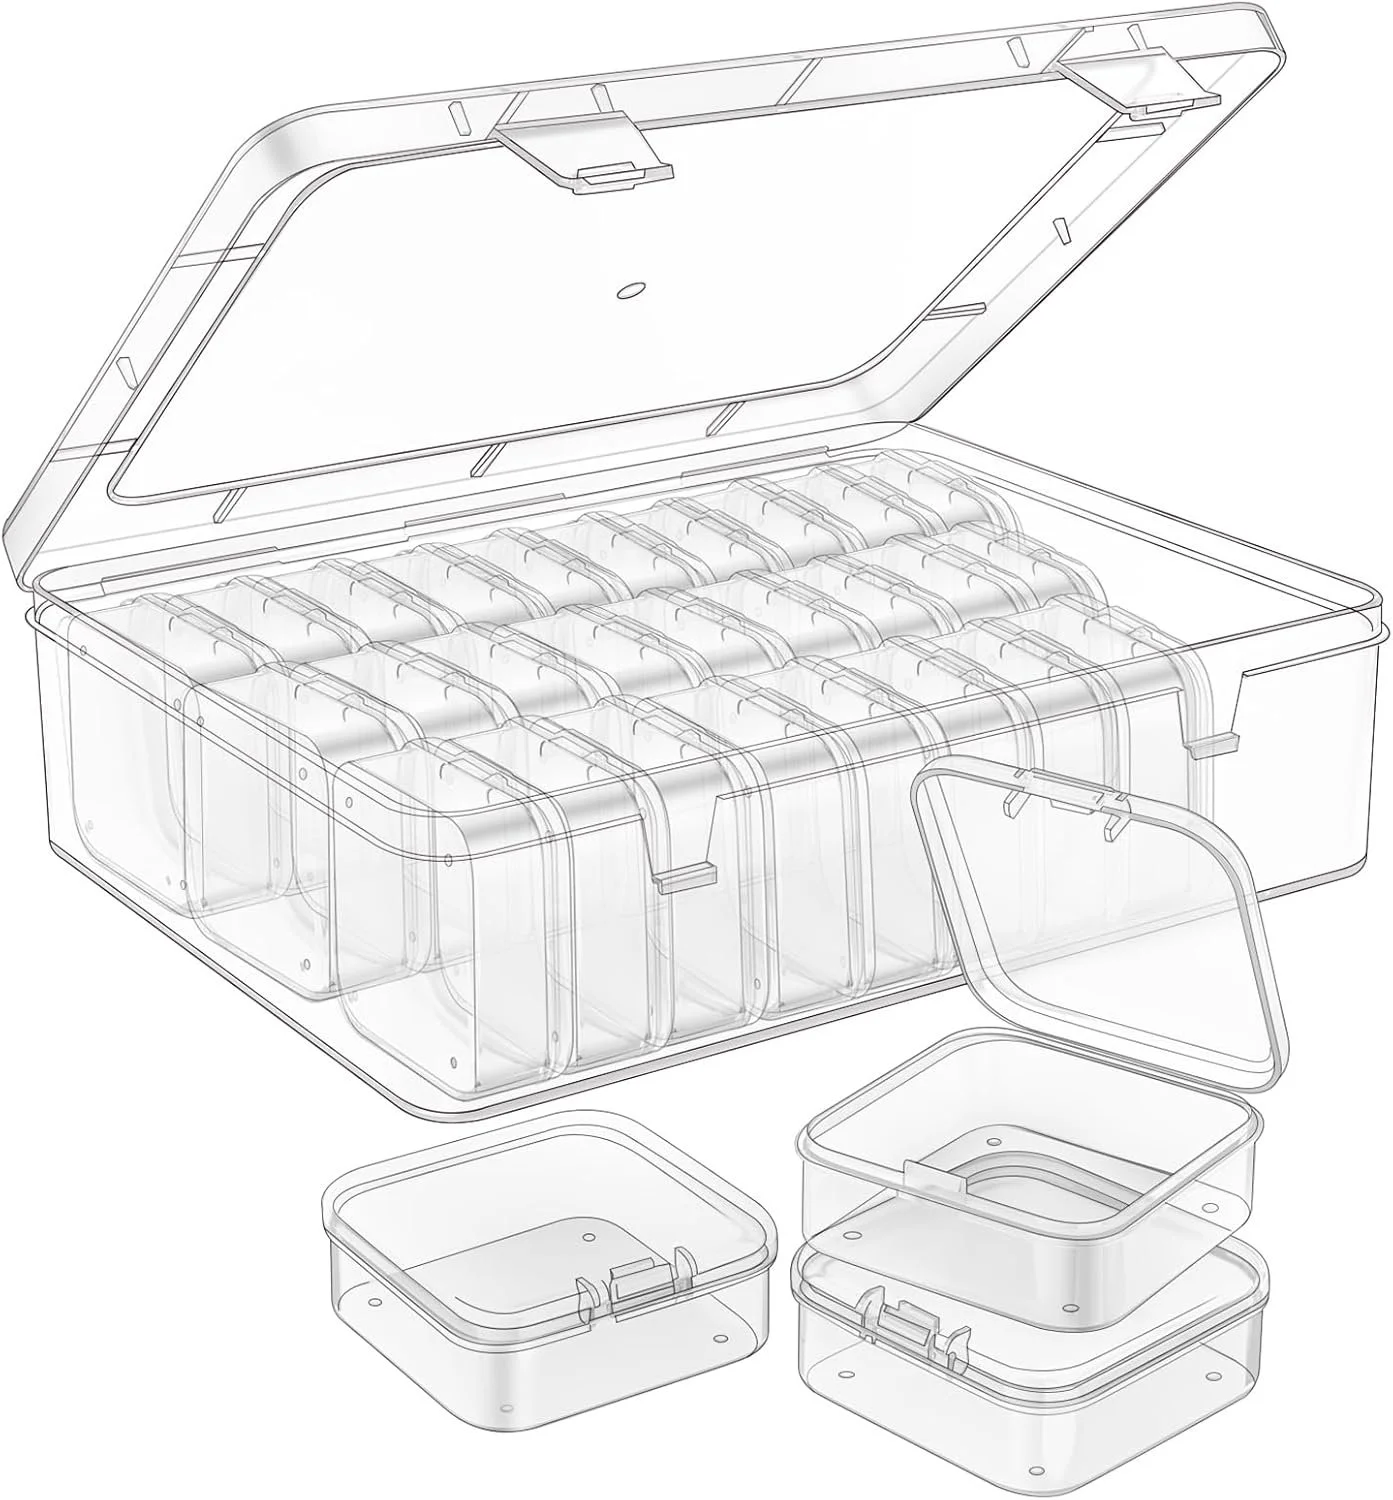
5. Gem Storage
For my loose gems and all the components I use to create my gem clusters I like these compartment-style gem storage boxes. These allow me to sort by color, shape, or size and keep similar types of gems together in a box. They’re especially helpful when I have a special theme or color scheme I need to restock and I don’t want to break out all my supplies.
I really love that they are clear and I can see what’s in each box without opening it or pulling it out. Having everything organized in one place saves time and brings me joy.
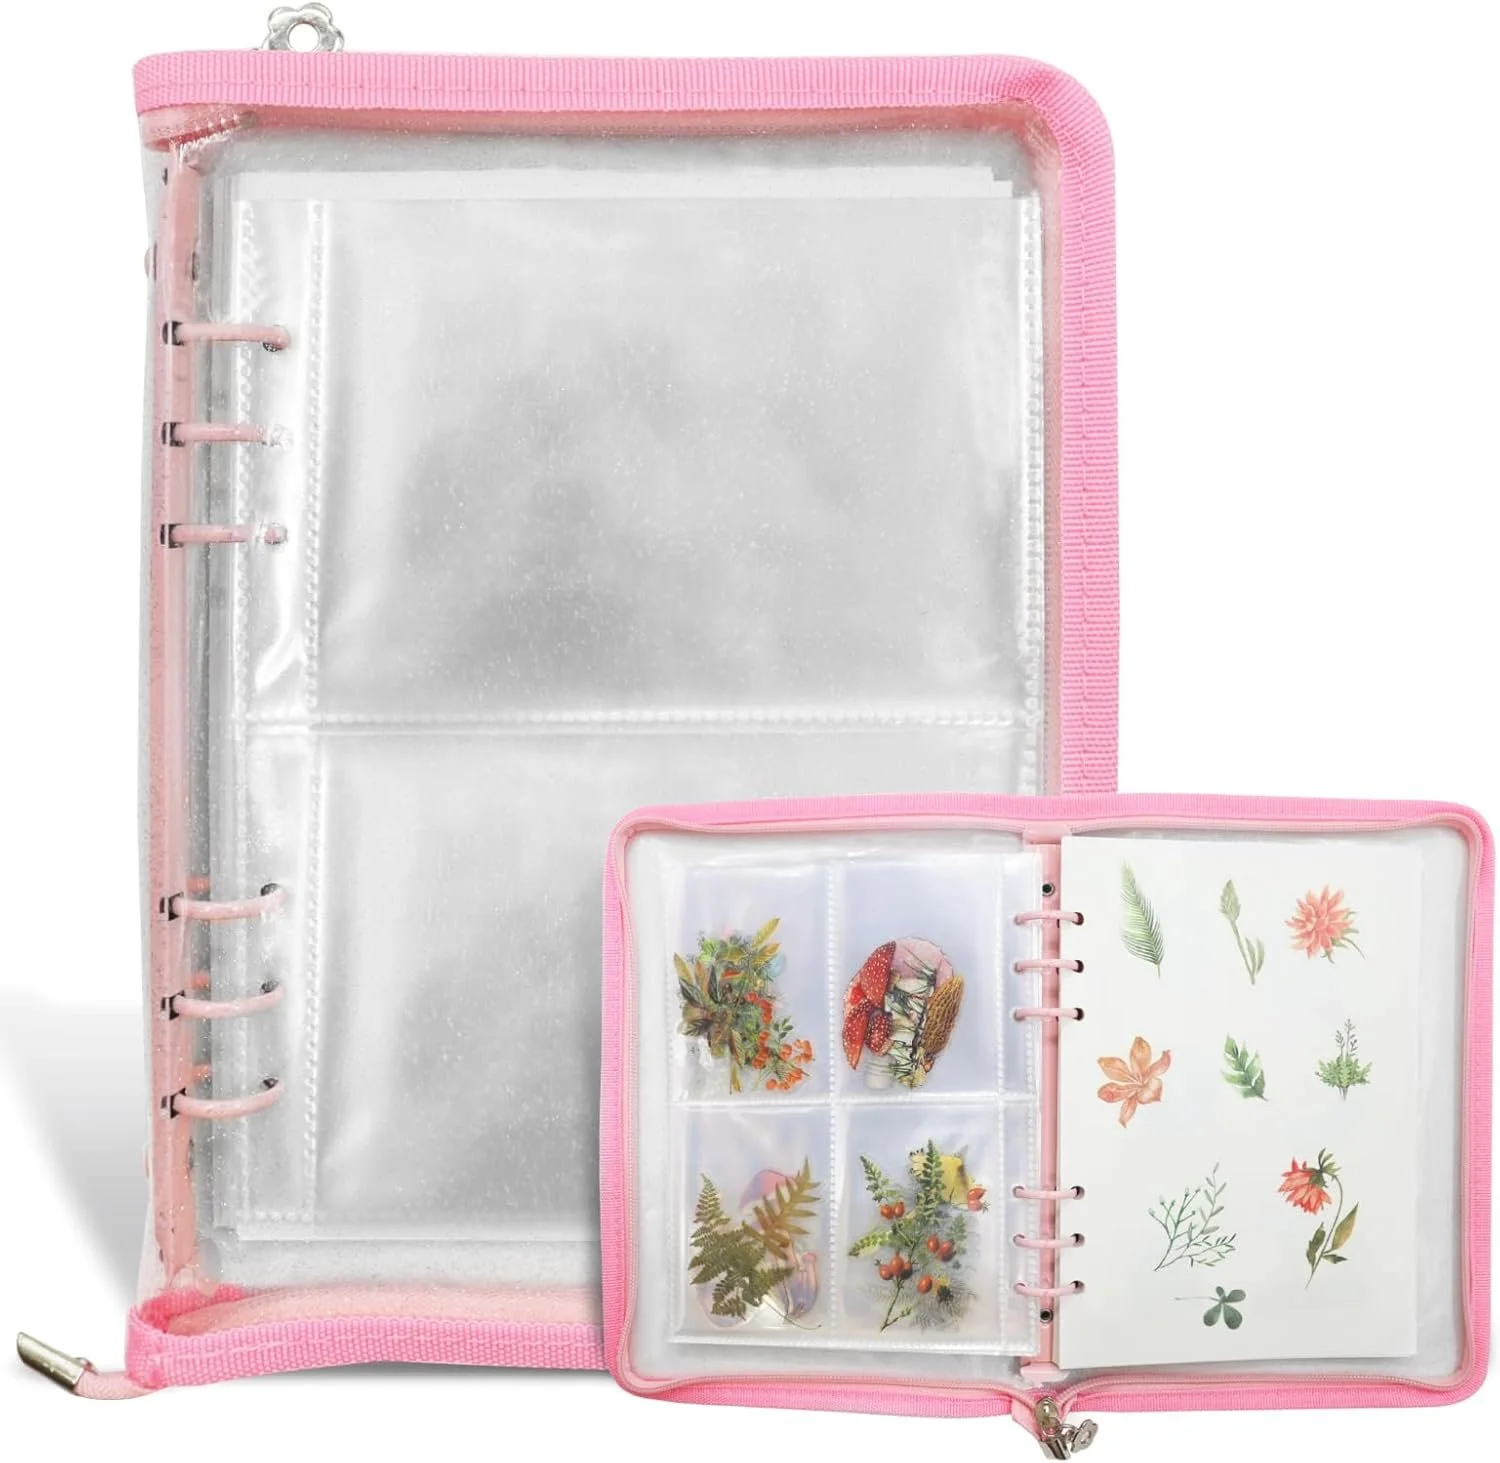
6. Sticker Book (for on the job)
For on-the-job use, I have this gem sticker book already packed and ready to go in my kit. This cute book makes it easy to flip through options with kids and adults so they can see their choices quickly without handling the pieces.
It also keeps my setup compact and efficient, which is essential when space is limited at festivals or parties.

7. Modge Podge
I like to fill the gaps in my gem clusters using gloss Modge Podge to give them a little more surface structure and prevent them from feeling floppy on the fashion tape.
Gloss Modge Podge dries crystal clear, unlike the popular glitter fabric paint, so you don’t have to be super precise when applying it because it won’t show.
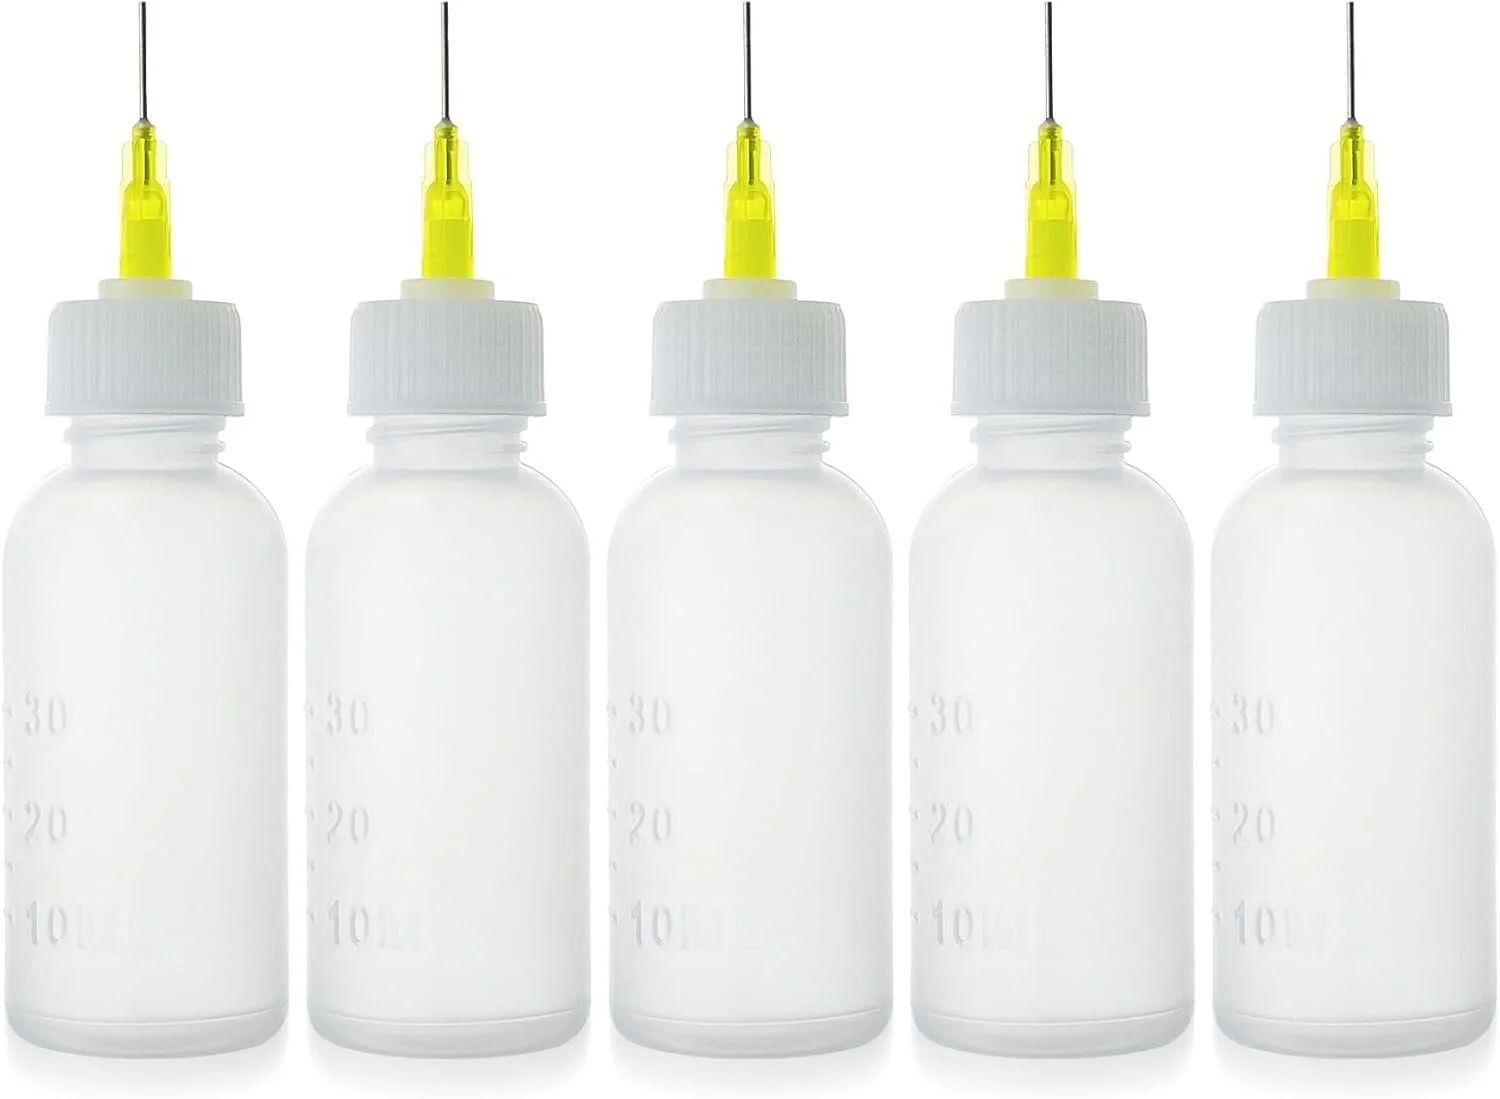
8. Needle Nose Bottles
These needle nose bottles are what I use the apply the Modge Podge to my gem clusters after I have placed each crystal on the fashion tape. I like to apply this after gem placement because it reduces any mess and the needle applicators allow me to apply the Modge Podge precisely where I need it.
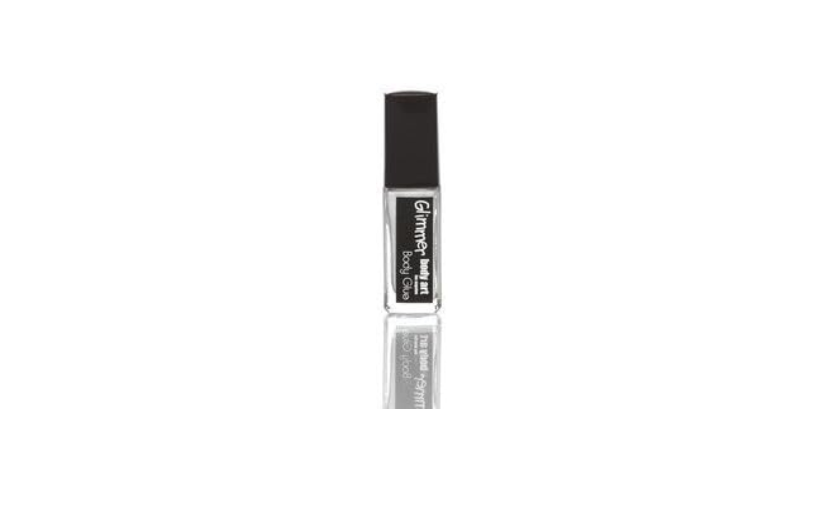
9. Skin Safe Glimmer Glue
While I love my fashion tape method sometimes the humid weather in FL (where I am based) can be a factor to contend with. In that case I am a big fan of Glimmer Body Art Glue. This skin safe glue comes in a wand style applicator with a brush that allows me to paint the glue onto the fashion tape back of my gem clusters for additional staying power.
It’s gentle enough for young faces but strong enough to keep the gems on during those hot summer months.
Face gems are one of the easiest ways to add value to your face painting services while keeping your workflow efficient. With the right tools and a solid organization system, you can start making your own gem clusters and easily make your work stand out.
If you have questions about making face gems or want to see how I use them at real events, feel free to reach out. I’m always happy to share what’s worked for me. If you want to shop my gem clusters check them out here.


